

Key Takeaways
How Gutters Actually Work
Gutters are shallow channels - typically made of aluminum, vinyl, or steel - mounted along the eaves of your roof. Their job is straightforward: collect rainwater and snowmelt as it runs off the roof surface, then guide it down through vertical downspouts and away from your home's foundation.
Without gutters, water cascades directly off roof edges, eroding the soil directly below, splashing onto siding, and pooling near the foundation. Over time, that pooling saturates the ground, leading to basement leaks, foundation cracks, and deteriorating wood framing - repairs that can run into thousands of dollars.
Downspouts empty into splash blocks, buried drainage pipes, or simply onto the ground - ideally sloping away from the house. Extensions can direct water even farther from the foundation. This full system works as a unit, and any break in the chain reduces effectiveness. Keeping it in mind helps you diagnose problems logically rather than guessing. For a broader view of tasks that protect your home's structure, see our guide to maintenance tasks that protect home value.
Why Gutters Fail
Understanding failure modes is the fastest path to preventing them. The most common reasons gutters stop working properly include:
- Clogs: Leaves, pine needles, seed pods, and shingle granules accumulate in the channel. Once blocked, water backs up, overflows over the front edge, and may seep under the roofline.
- Improper pitch: Gutters must slope toward the downspout. When they're level or pitched the wrong way, water sits and stagnates, accelerating rust and rot and eventually spilling over the sides.
- Loose or missing hangers: Hangers (the brackets holding the gutter to the fascia board) can pull away from the wood over time, especially when gutters get heavy with debris and standing water. A sagging section won't drain.
- Leaky seams and end caps: Sectional gutters have joints sealed with caulk or gutter sealant. This material breaks down over several years, letting water drip directly onto fascia boards and siding.
- Downspout blockages: Clogs don't only form in the channel - they commonly form at the top elbow of the downspout, where debris funnels inward.
Standing Water Accelerates Damage Fast
Even a few inches of standing water in a gutter channel can weigh 30 or more pounds per linear foot when combined with debris. This strains hangers, warps the gutter channel, and invites mosquito breeding. Address pooling promptly rather than waiting for the next scheduled cleaning.
Ice dams in colder climates compound gutter problems. When gutters are clogged, standing water freezes, expands, and can pry gutters away from the fascia. Keeping gutters clear before winter is the most effective preventive step.
How to Clean Your Gutters Safely
Plan to clean gutters at least twice a year - late spring after seed and pollen season, and late fall after the majority of leaves have dropped. Homes surrounded by pine trees or near heavy canopy may need cleaning three or four times annually.
Tools you'll need
- Extension ladder rated for your weight plus gear
- Work gloves (debris can harbor mold and sharp granules)
- Plastic gutter scoop or garden trowel
- Garden hose with a pistol-grip nozzle or a dedicated gutter-flush attachment
- Bucket or tarp for collected debris
Step-by-step process
- Set your ladder on stable, level ground. Never lean it against the gutter itself - it's not designed to bear that load. Use standoff stabilizers when possible.
- Starting at the end farthest from the downspout, scoop out debris by hand into your bucket. Work toward the downspout.
- Flush the gutter channel with your hose, working toward the downspout. This reveals slow-draining sections and confirms the downspout is clear.
- If water backs up at the downspout, insert the hose from the top and run water at full pressure. For stubborn clogs, a plumber's snake threaded from the bottom opening works well.
- Check where the water exits at the bottom of the downspout - it should flow away from the foundation, not pool beside it.
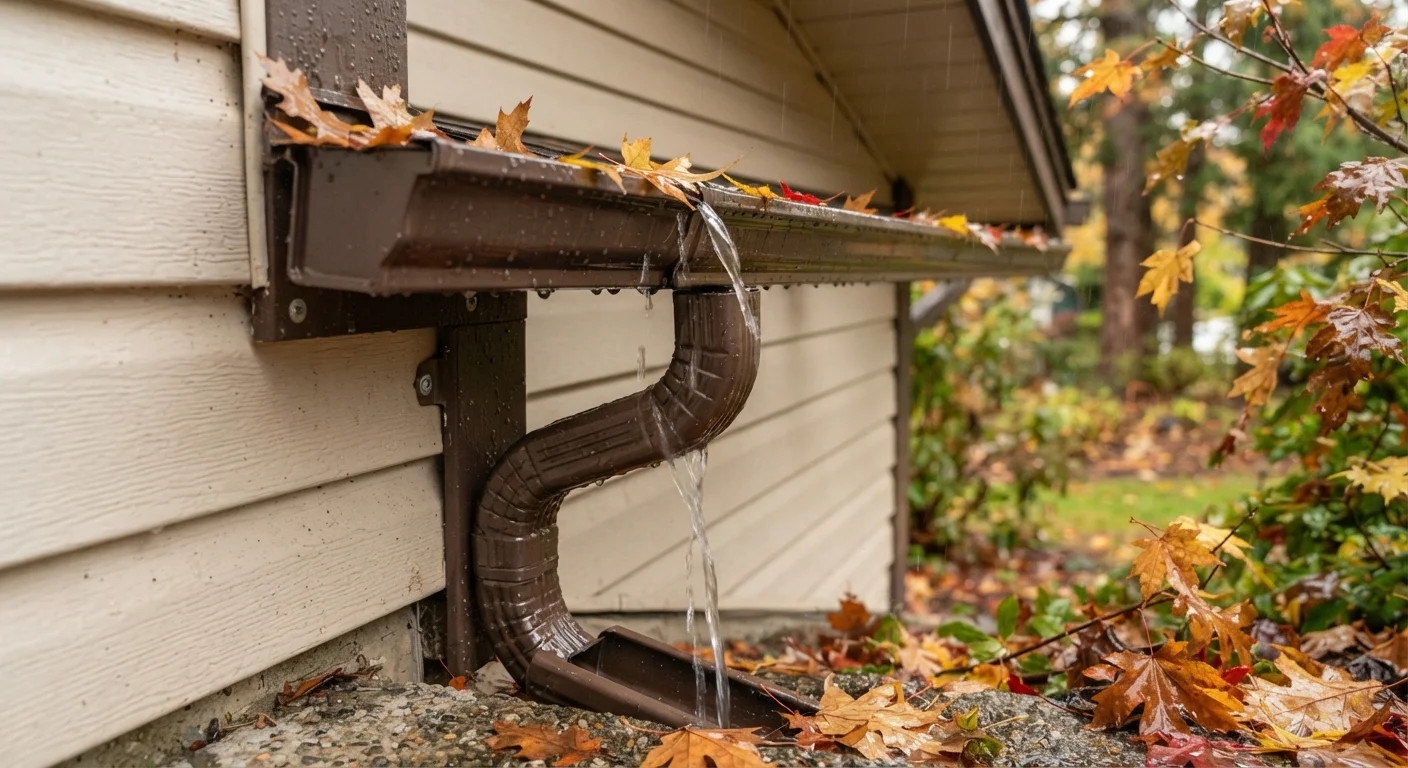
Flush your gutters from the far end toward the downspout, then watch the outlet - the speed of outflow tells you immediately whether pitch and flow are adequate without any measuring.
This real-time visual check is faster than using a level mid-task and confirms the full system is working, not just individual sections.
Replace gutter spikes with hex-head screws and ferrules during any cleaning visit. Screws resist pull-out far better than spikes, especially in older fascia wood softened by years of moisture exposure.
Spikes are the primary reason gutters sag on homes more than 15 years old; the upgrade costs under a dollar per hanger and takes seconds with a drill.
Checking Pitch, Hangers, and Seams
After cleaning, use the flushing step to assess pitch. Water should move steadily toward the downspout with no standing puddles in the channel. If it pools mid-run, the gutter has lost its slope.
Correcting pitch
Most gutters are designed to drop approximately one inch for every 20 feet of horizontal run. To re-pitch a section, loosen the hanger screws, adjust the gutter angle until the slope is correct (a level and tape measure help), then re-drive screws through the fascia - ideally into the rafter tails behind it for a stronger hold. Use exterior-rated screws rather than spikes, which pull loose more easily over time.
Reattaching loose hangers
If fascia wood has rotted behind a hanger, the screw has nothing to bite into. In that case, the fascia board itself needs replacing before the hanger can be secured - this is often a sign to consult a contractor. For solid fascia, simply drive a new screw an inch or two from the original hole to find fresh wood.
Sealing leaky joints
Dry the seam area thoroughly - at least 24 hours after any rain. Apply a bead of gutter-specific sealant (usually a polyurethane or butyl-rubber product) along the interior of the joint, smoothing with a gloved finger. Allow to cure per the product's label before the next rainfall. This same principle of sealing gaps applies throughout your home; see our plain-language primer on caulking and weatherstripping for related techniques.
Exterior seam repairs - where the joint is visible from outside - can also be backed with a sheet-metal patch for longer-lasting coverage on older systems.
When to Call a Professional
Most routine gutter maintenance is genuinely DIY-friendly. However, certain situations call for a licensed contractor:
- Multi-story homes: Working above a single-story roofline on an extension ladder significantly increases fall risk. Professional crews use stabilized scaffolding and fall-arrest systems.
- Rotted fascia or soffit: If the wood behind your gutters is soft or crumbling, structural repair is needed before re-hanging anything. This work often connects to roofline framing.
- Full replacement: Seamless aluminum gutters - cut to the exact length of each run on-site - eliminate most joint-leak problems. Installation requires specialized equipment not practical for DIY.
- Persistent foundation moisture: If you're finding water in your basement or crawl space despite clearing gutters and extending downspouts, the problem likely involves grading, drainage tile, or waterproofing - beyond gutter scope.
Gutter maintenance integrates naturally into a seasonal home care routine. For a full calendar of what to check and when, our seasonal home maintenance guide walks through every major system month by month. Staying on top of small tasks like these is one of the most cost-effective things a homeowner can do.