

Key Takeaways
Why Container Gardening Works for Small Spaces
Limited outdoor square footage doesn't have to mean giving up on growing food or creating a garden you actually enjoy spending time in. Container gardening sidesteps the two biggest barriers for urban and suburban families: poor or nonexistent ground soil, and space constraints. Because you control the growing medium entirely, you're not at the mercy of compacted clay or nutrient-depleted soil - issues that take seasons to correct in a ground-level bed. For a comparison of how this stacks up against other approaches, our raised beds vs. in-ground planting guide walks through the trade-offs in detail.
Containers are also genuinely flexible. You can move them to follow sun, shelter tender plants from a late frost, and rearrange your layout season to season without any digging. For renters especially, this portability is a major practical advantage. Starting small - even with three or four containers on a patio or balcony - gives you a low-stakes way to learn what grows well in your specific conditions before investing more time or money.
What you will need
What You'll Need Before You Start
Success in container gardening comes down to a short list of non-negotiables: appropriate containers, the right growing medium, and a realistic plant selection for your light conditions. Improvised containers like wooden crates, repurposed colanders, or food-grade buckets can reduce startup costs significantly, as long as they have drainage. Avoid containers that previously held non-food-safe chemicals.
Containers (pots, grow bags, or repurposed buckets)
Hold the potting mix and give plant roots space to develop - size varies by crop.
High-quality potting mix
Provides the drainage, aeration, and nutrition that container plants need; garden soil is too dense for pots.
Slow-release granular fertilizer
Feeds plants steadily over the season since nutrients flush out of containers faster than in-ground beds.
Watering can or hose with a gentle nozzle
Delivers water evenly without displacing soil or damaging seedlings.
Drainage saucers
Catches excess water on balconies and patios, protecting surfaces and neighboring units below.
Trowel and hand pruners
Used for transplanting seedlings into containers and trimming back spent growth.
Step-by-Step: Setting Up Your Container Garden
Follow these steps to move from an empty patio or balcony to a functioning container garden. Beginners should expect to spend one to three hours on initial setup, depending on the number of containers. For more inspiration on transforming outdoor and indoor areas on a budget, explore our home improvement hub.
Assess your light and space conditions
Walk your outdoor space at several points during the day and note how many hours of direct sun each area receives. Most vegetables and many flowers need 6 or more hours; leafy greens, herbs like parsley, and some flowers tolerate 4 hours. Map out where containers can be placed without blocking doorways or fire escapes, and measure usable floor area. This assessment determines which plants are realistic and how many containers you can fit.
Choose containers matched to your crops
Container size directly controls root development and yield. As a general rule: herbs and lettuce do well in 6-8 inch pots; bush beans, peppers, and smaller flowers suit 12-inch containers or 3-5 gallon grow bags; tomatoes, cucumbers, and squash need at least a 5-gallon container, with 10-15 gallons preferred. Ensure every container has drainage holes - standing water quickly leads to root rot. Lightweight plastic and fabric grow bags are budget-friendly and easier to move than heavy ceramic pots.
Fill containers with quality potting mix
Use a bagged potting mix specifically labeled for containers, not garden or topsoil. A good mix is lightweight, drains well, and contains some initial fertilizer. Fill containers to about one inch below the rim to prevent water runoff. For larger pots, you can fill the bottom third with perlite or coarse material to reduce cost and weight, then top with potting mix where roots will establish. Mix in a slow-release granular fertilizer according to package directions before planting.
Select and plant your crops and flowers
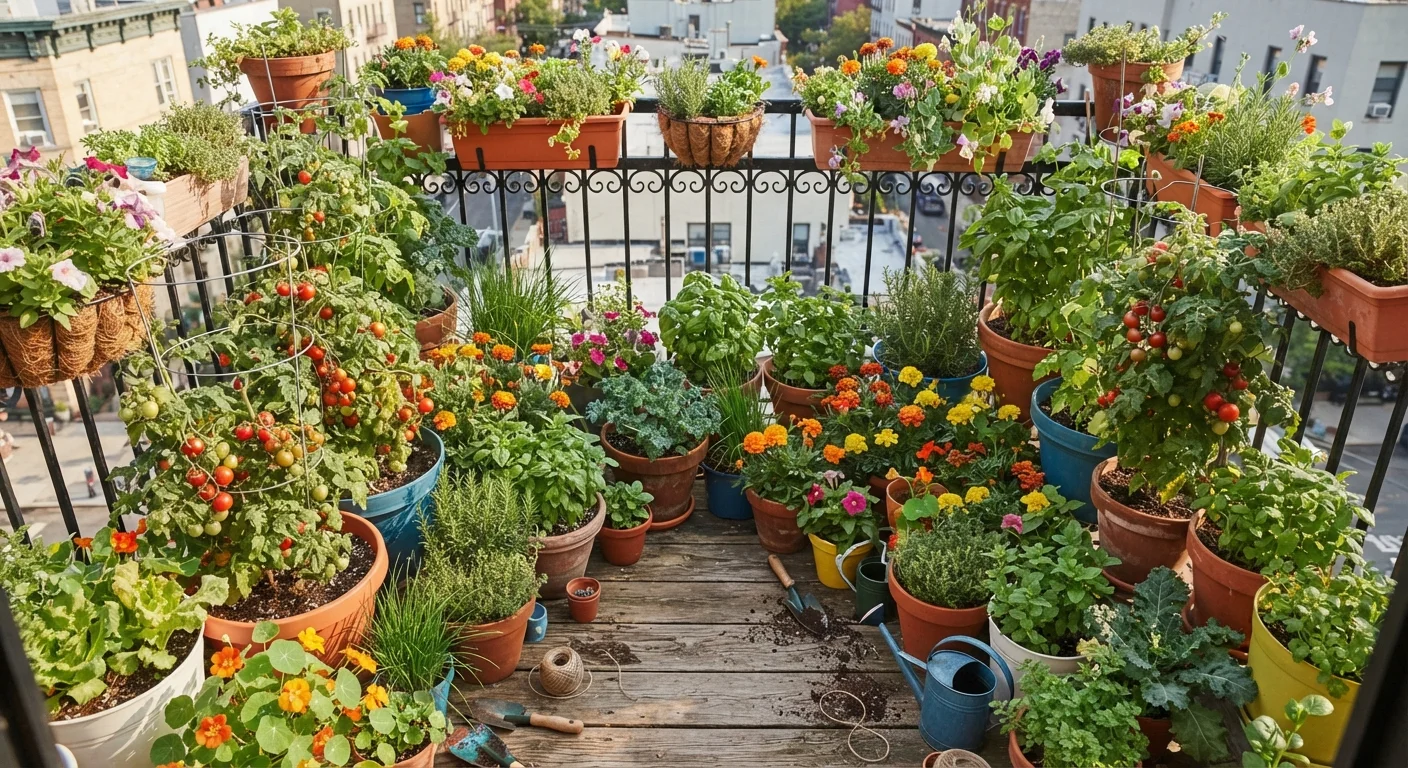
Choose compact or container-bred varieties when available - labels like 'patio,' 'bush,' or 'dwarf' indicate plants bred for smaller spaces. Reliable beginner food crops include cherry tomatoes, bush beans, lettuce, radishes, chives, basil, and mint. For flowers, marigolds and nasturtiums do double duty: they attract pollinators and can deter some pest insects, making them excellent container companions. See our companion planting guide for plant combinations that naturally support each other. Transplant seedlings at the same depth they were growing in their nursery pots, firm gently, and water thoroughly.
Establish a watering and feeding routine
Container plants dry out far faster than in-ground beds because the limited soil volume heats quickly and has no groundwater to draw on. Check soil moisture daily during warm weather by inserting your finger about an inch deep - water when it feels dry at that depth. Water slowly until it drains freely from the bottom. Supplement your initial slow-release fertilizer with a liquid balanced fertilizer every two to three weeks once plants are actively growing, especially for heavy feeders like tomatoes.
Maintain and harvest through the season
Deadhead spent flowers to encourage continuous blooming. Pinch back herbs like basil regularly to delay bolting (going to seed). Harvest vegetables promptly - leaving ripe produce on the plant signals it to stop producing. At the end of the season, empty containers, compost spent plant material, and store pots out of freezing temperatures to extend their lifespan. Potting mix can be refreshed with compost the following year rather than replaced entirely. For more on building your own compost, see how to compost at home without the fuss.
Expanding Your Garden Over Time
Once you've had one successful season, you'll have a clearer sense of which plants earned their space and which weren't worth the effort. Perennial herbs like chives, thyme, and mint can overwinter in containers in many US climates, meaning you're not starting entirely from scratch each spring. If you're deciding between plants that come back on their own versus those that need replanting each season, our perennials vs. annuals overview explains the practical trade-offs for families trying to keep replanting effort low.
Container gardening pairs naturally with composting - spent potting mix, vegetable scraps, and plant trimmings are all compostable, and finished compost can stretch your potting mix budget. Even on a budget, a productive, attractive container garden is within reach for most families willing to start small and build steadily.
Save Money by Starting from Seed
Transplants from a nursery cost more than seeds, but they save time. For fast-maturing crops like radishes, lettuce, and herbs, starting from seed directly in containers is straightforward and significantly cheaper. For slow-maturing crops like tomatoes or peppers, transplants are generally more practical for beginners. See our budget vegetable garden guide for seed-saving and cost-cutting strategies.