Key Takeaways
Why a Full Kitchen Gut Isn't Always the Answer
A full kitchen renovation is one of the most disruptive and expensive projects a homeowner can undertake - costs can run anywhere from $15,000 to $50,000 or more depending on scope and location. For budget-conscious families, that kind of outlay simply isn't realistic. The good news is that kitchens respond remarkably well to targeted, surface-level updates.
The projects below focus on changes that are visually impactful, structurally simple, and achievable without professional contractors. Whether you have a weekend to spare or a few evenings over a month, each of these upgrades can be completed in stages. For broader guidance on sequencing home updates affordably, see our home improvement budget planning guide.
Repaint Your Cabinets Instead of Replacing Them
Cabinet replacement is one of the single largest costs in any kitchen renovation. Repainting your existing cabinet boxes and doors achieves a similar visual transformation for a fraction of the price. Proper preparation is what separates a lasting finish from one that chips within months: clean surfaces thoroughly with a degreaser, sand lightly to scuff the existing finish, apply a bonding primer, and use a cabinet-specific paint in a satin or semi-gloss sheen.
Water-based alkyd paints have become a popular choice for this project because they brush or roll on smoothly and cure to a hard, washable surface. Expect to spend a full weekend on the job including drying time between coats. For an average kitchen, materials typically run $80-$200 depending on cabinet count.
Repainting cabinets can deliver a near-total visual transformation for under $200 in materials.
Swap Out Hardware for an Instant Style Upgrade
Cabinet knobs and pulls are among the easiest, most affordable updates available to any homeowner. Dated brass or plastic hardware can make even a clean kitchen feel old; replacing it with brushed nickel, matte black, or warm brass pulls changes the room's entire tone. A standard set of pulls for a modest kitchen typically costs $30-$80 total.
Before purchasing, measure the existing hole spacing on your cabinet doors and drawers - most pulls are drilled at 3-inch or 3.75-inch centers, but variations exist. A cordless drill and a screwdriver are all the tools you need. Budget an afternoon for the whole kitchen.
New cabinet hardware is one of the few upgrades where a $50 investment is genuinely visible from across the room.
Add or Rearrange Open Shelving
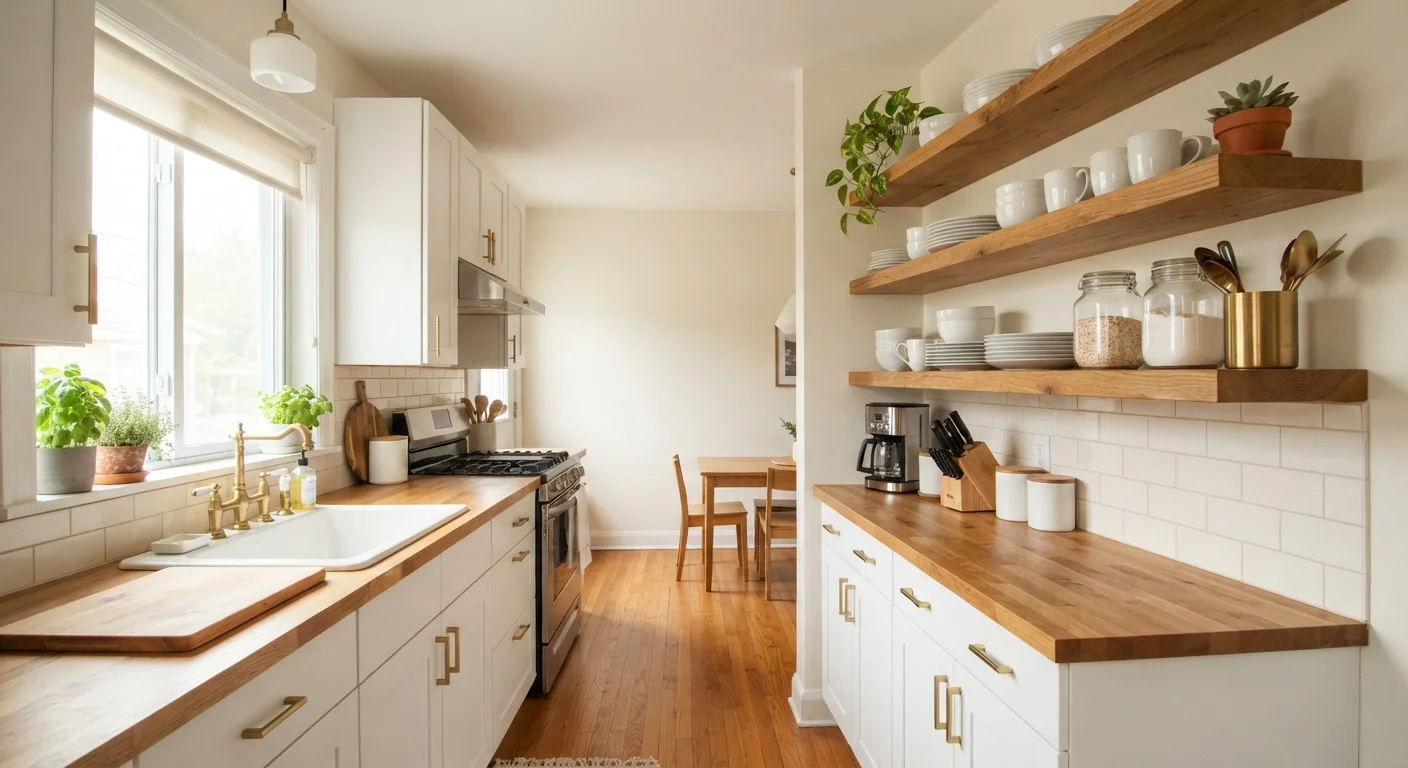
Removing a set of upper cabinet doors - or adding a dedicated floating shelf in a blank wall section - introduces visual breathing room and a sense of intentional design. Open shelving works best when it's edited: keep items that are both attractive and frequently used, such as everyday dishware, glass jars, or small plants. Avoid using open shelves as overflow storage, which tends to look cluttered.
Floating shelf brackets are widely available and straightforward to install into wall studs. If you're removing cabinet doors, you can paint or sand the interior of the cabinet box for a finished look. Materials for a single floating shelf typically run $25-$60.
Open shelving succeeds when items displayed are intentional - it's a design choice, not a storage solution.
Upgrade Your Lighting Fixtures
Lighting has an outsized effect on how a kitchen feels. Replacing a dated flush-mount ceiling fixture with a pendant or semi-flush fixture introduces character without major electrical work. Swapping under-cabinet lighting to LED strips dramatically improves task visibility on countertops.
Fixture replacement at the existing junction box is generally a manageable DIY task for homeowners comfortable with basic electrical safety steps: turn off the circuit breaker, confirm power is off with a non-contact voltage tester, then follow the fixture's wiring diagram. If you're uncertain about any step, engage a licensed electrician - this is not a task to improvise. New fixtures can range from $40 for a basic semi-flush to $150 for a simple pendant grouping.
Replacing a ceiling fixture and adding under-cabinet LED strips together costs less than $200 and dramatically improves both ambiance and function.
Install a Peel-and-Stick Backsplash
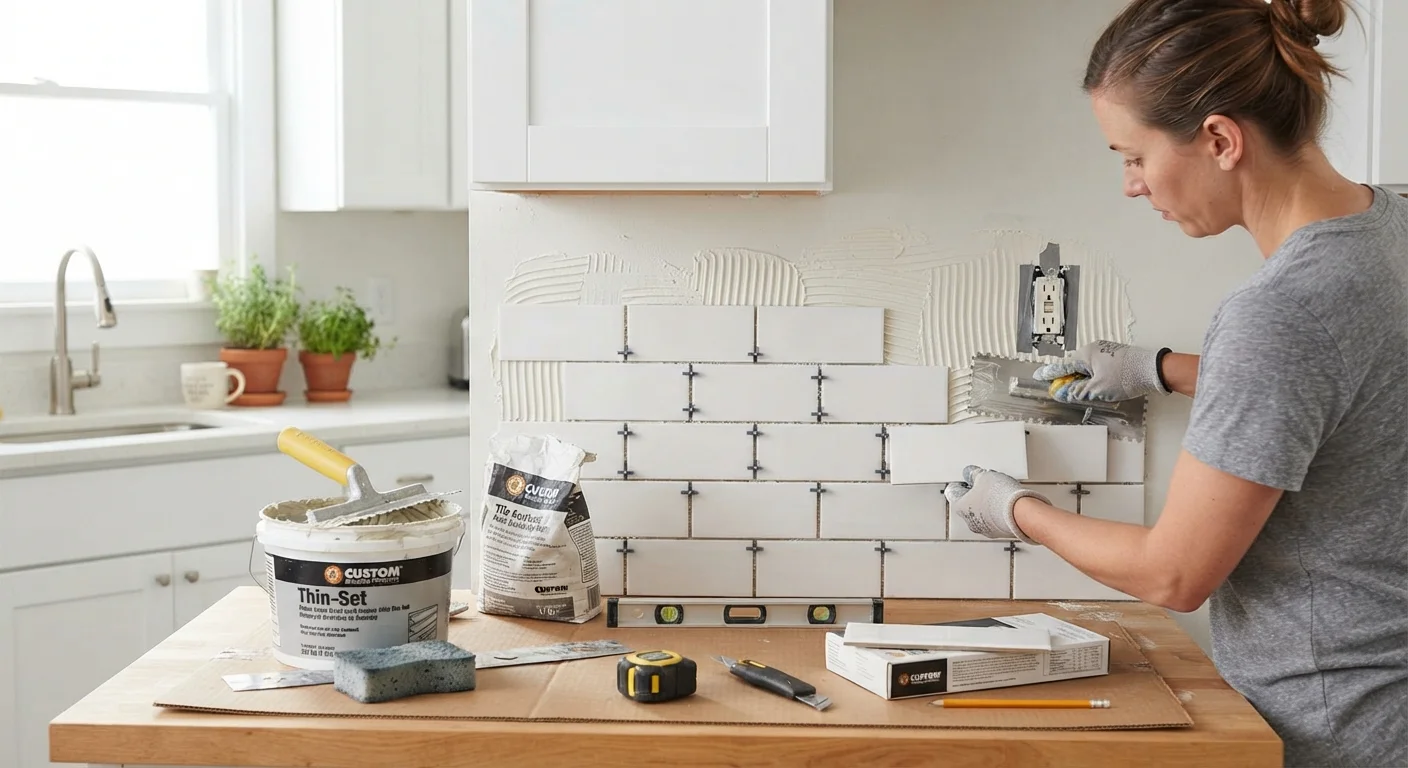
A tile backsplash behind the stove or sink anchors a kitchen visually and protects walls from splatter. Traditional tile installation involves thinset, grout, and tile saws - tools and skills that put it out of reach for many DIYers. Peel-and-stick tile panels, however, have improved significantly and offer a practical middle ground.
Modern peel-and-stick options include stone-look vinyl, subway tile patterns, and geometric designs. They adhere to clean, flat drywall or existing tile, and most can be trimmed with a utility knife. Typical coverage for a standard backsplash area runs $40-$120. Longevity depends on surface preparation and heat exposure - they're generally best positioned away from direct cooktop heat.
Peel-and-stick backsplash panels can cover a standard kitchen backsplash area for well under $150.
Refresh Countertops With Paint or a Thin Overlay
Full countertop replacement is expensive - laminate runs $20-$50 per linear foot installed, while stone can cost far more. For families not yet ready for that expense, countertop refinishing products offer a temporary but credible alternative. Specialty countertop paint kits are formulated to bond to laminate surfaces and can mimic the look of stone or solid color finishes.
Results vary considerably depending on application technique and surface prep, so manage expectations accordingly: this is a refresh, not a permanent replacement. The typical lifespan before recoating is needed is a few years with careful use. For longer-term planning, this can bridge the gap until a full replacement fits your budget. See also our bathroom refresh on a tight budget for similar surface-upgrade strategies applied in a different room.
Countertop paint kits can buy families years before committing to a full replacement - at a fraction of the cost.
Making It All Work Together
The most effective kitchen refreshes combine two or three of these updates rather than doing just one. Freshly painted cabinets paired with new hardware and improved lighting, for example, will produce a result that looks far more cohesive - and more professionally done - than any single change alone.
Sequence Updates for Maximum Visual Impact
If you're tackling multiple updates, start with cabinet painting first - it's the messiest step and sets the visual baseline for everything else. Hardware and lighting follow naturally once the paint has fully cured (typically 2-3 weeks for full hardness). Backsplash and shelving can be added last once you've confirmed the overall color direction. This order also helps you pace spending across multiple weekends rather than front-loading all costs at once.
Think of your kitchen update the same way you might approach a room layout change: small, deliberate moves compound. Our article on weekend projects that make a room feel bigger covers complementary techniques that apply equally well in a kitchen setting. And if you're budgeting carefully across multiple home projects, the Budget Basics hub offers straightforward frameworks for managing household expenses.