Key Takeaways
Why Sequencing Your Projects Matters
One of the most common - and costly - mistakes families make is tackling home improvements in the wrong order. Painting a room before fixing a slow roof leak above it, or installing new flooring before addressing a moisture problem in the subfloor, means redoing finished work and wasting money twice.
A sound sequencing approach follows this general hierarchy:
- Safety and structural issues first - roof integrity, foundation cracks, electrical hazards, carbon monoxide or radon risks.
- Systems next - plumbing, HVAC, and insulation. These affect energy costs and habitability year-round.
- Interior envelope - windows, doors, and weatherproofing that directly impact comfort and utility bills.
- Cosmetic upgrades last - paint, trim, fixtures, and landscaping.
This isn't just about aesthetics - it's about protecting your investment. Completing a kitchen backsplash before replacing aging plumbing under the sink is a gamble most budgets can't absorb. Pair your sequencing plan with a seasonal maintenance schedule so small problems get caught before they become expensive repairs.
Start With a Written Project List
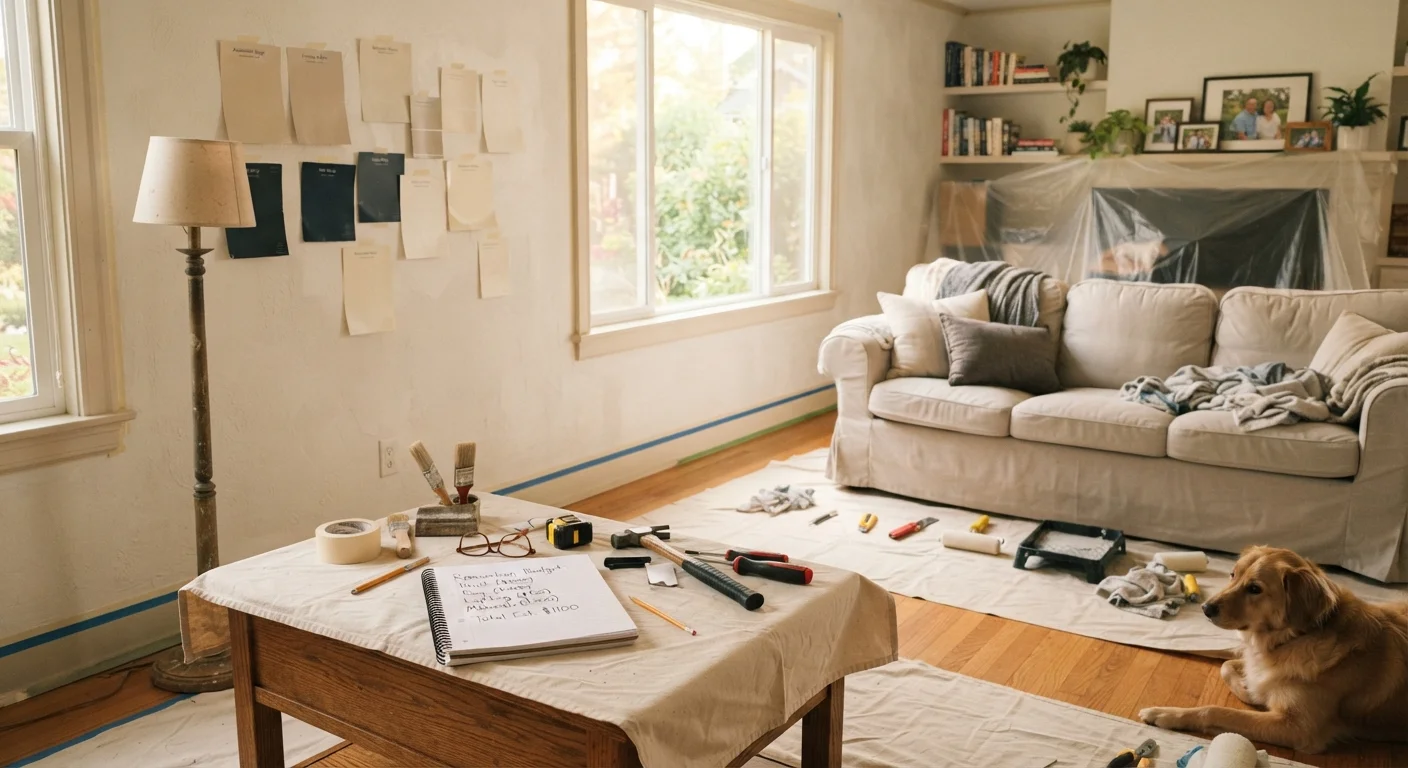
Before spending a dollar, write down every improvement you're considering - then rank each one by urgency, not preference. This simple exercise forces you to separate emotionally appealing projects from genuinely necessary ones. Revisit and revise the list each time a new project idea comes up.
Building a Realistic Home Improvement Budget
The word "realistic" is doing a lot of work here. Many families underestimate costs by 20-40% because they price materials only - overlooking labor (even for hired tasks), permit fees, tool rentals, waste disposal, and finish details like hardware or caulk.
Start by categorizing every project you're considering:
- Must-do: Safety repairs, code violations, or systems failures.
- Should-do: Projects that prevent bigger future costs (resealing a deck, re-caulking a tub).
- Nice-to-do: Upgrades that improve comfort or aesthetics without urgency.
Get at least two written estimates for any work you'll hire out, and request itemized breakdowns so you can see where the money goes. For DIY tasks, price the full materials list before committing - not just the main item. If renovation spending represents a significant slice of your household income, it's worth integrating it into your long-term family budget rather than treating it as a separate, floating expense.
~35%
Average home renovation cost overrun
Industry surveys consistently show homeowners underestimate total project costs by 20-40%, with the average overrun landing near 35%.
10-20%
Recommended contingency reserve
Professional contractors and financial planners generally advise setting aside 10% for newer homes and up to 20% for older homes as a contingency buffer.
70-80%
Typical ROI for mid-range bathroom remodels
According to Remodeling Magazine's Cost vs. Value data, mid-range bathroom remodels historically return roughly 70-80 cents per dollar spent at resale.
The Contingency Fund: Your Renovation Safety Net
No renovation goes exactly as planned. Behind walls and under floors lives a world of surprises: outdated wiring, water-damaged framing, undersized pipes. A contingency fund - typically 10% of your total project budget for newer homes, and up to 20% for older ones - is not pessimism; it's professionalism.
Treat your contingency as a non-negotiable line item, not an afterthought. If you're budgeting $8,000 for a bathroom remodel, plan to have $9,600-$10,000 accessible before work begins. Money not spent on surprises can roll into your next project or back into savings.
Families who don't pre-fund a contingency often turn to high-interest credit cards when unexpected costs appear - which is exactly how a manageable renovation becomes a debt problem. For a broader view of how to structure savings alongside home expenses, the complete family budgeting guide offers useful frameworks.
Deciding What to DIY and What to Delegate
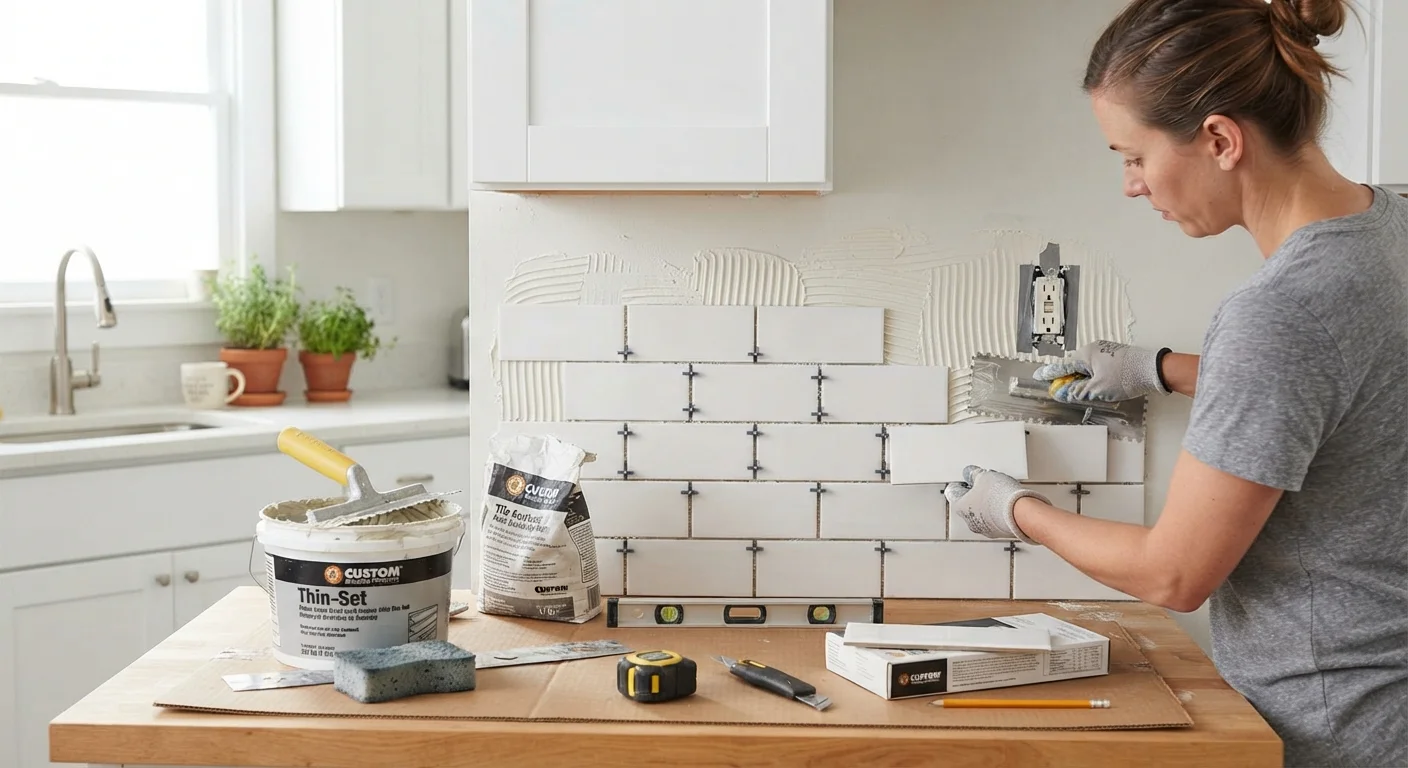
DIY can save real money - but only when the task is within your actual skill level and the consequences of error are manageable. Painting, basic landscaping, tile backsplashes, cabinet hardware swaps, and simple fixture replacements are often reasonable DIY territory for motivated beginners.
However, work involving electrical panels, gas lines, load-bearing structures, roofing, or main plumbing connections carries enough risk that mistakes can cause injury, structural damage, or insurance complications. Many of these jobs also require permits and licensed contractors under local building codes.
Before deciding, ask yourself three questions: Do I understand the full scope of this task? What happens if I make an error mid-project? Will unpermitted work create problems when I sell? For a structured way to think through this decision, see DIY vs. hiring out: a practical framework. And if you do decide to hire, this pre-contractor checklist will help you arrive prepared.
Before buying any material in bulk, do a small test run - install one tile, mix one batch of grout, or hang one section of wallpaper - to catch technique errors before they multiply across an entire room.
Mistakes made on small sections are inexpensive to fix; mistakes made after purchasing a full room's worth of materials can cost hundreds of dollars to correct.
When getting contractor estimates, always ask what is specifically excluded from the quote - not just what is included. Hidden exclusions are one of the most common sources of mid-project cost surprises.
Itemized exclusions reveal assumptions the contractor is making about your scope, which often differ from your own assumptions and can lead to disputes or unexpected invoices.
Avoiding the Debt Traps That Derail Renovations
Home improvement debt is one of the stealthiest budget threats a family faces. A project that starts as a cash-funded kitchen refresh can balloon into a financed whole-home renovation when scope creep takes hold. Once you're borrowing, interest costs make every choice more expensive - and the psychological pressure to "finish what you started" can override rational stopping points.
Some principles to keep you on track:
- Pay cash for discretionary upgrades wherever possible. If the project isn't urgent and you can't fund it from savings, delay it until you can.
- Set a firm stop number. Decide in advance the maximum you'll spend, and treat it as a ceiling - not a starting point for negotiation.
- Avoid financing cosmetic work. Taking on debt for paint, countertops, or landscaping rarely makes financial sense when weighed against interest costs.
- Watch for scope creep. "While we're at it" thinking is how $5,000 bathrooms become $14,000 bathrooms.
The Saving & Debt hub has additional resources for families navigating the balance between home investment and financial stability.
Staying Realistic: Scope, Timeline, and Expectations
Optimism is useful for starting projects; realism is what finishes them. Most DIY timelines run 30-50% longer than initial estimates, especially when you factor in weekends-only schedules, material lead times, and the inevitable mid-project problem-solving.
Build timeline buffers into any project that affects a functioning room. Remodeling a sole bathroom in a one-bathroom home without a clear end date creates real hardship. Repainting a bedroom in stages over two weekends? Entirely manageable.
Understand, too, that not every improvement adds resale value proportional to its cost. Some upgrades are purely quality-of-life improvements - which is a legitimate reason to do them, as long as you're not borrowing to fund them. For projects where resale value matters, understanding what ROI actually means for home improvements can sharpen your priorities. And any time permits are a question, read about the real costs of skipping a building permit before proceeding.
The families who finish renovation projects without financial regret share a common trait: they planned more carefully than they thought they needed to, spent less than they were approved for, and stopped when the budget said stop.