Key Takeaways
Why DIY Painting Goes Wrong (and How to Change That)
Painting your own rooms is one of the most accessible home improvement projects a family can take on - it requires modest tools, no special licensing, and can meaningfully refresh a space at a fraction of what professional painters charge. But the gap between a polished result and a blotchy disappointment almost always comes down to a handful of avoidable errors.
The mistakes below are the ones that show up most consistently among first-timers. Understanding why they happen makes them much easier to sidestep. For families who want paint to be part of a broader home upgrade, our guide on home improvement on a budget can help you sequence projects realistically.
Don't Paint Over Moisture or Mold
If a wall shows water stains, soft spots, or visible mold, painting over it will not solve the underlying problem - it will only hide it temporarily. Moisture damage and mold require proper remediation before any surface treatment. See why painting over moisture problems backfires for a full explanation of what's actually going on beneath the surface.
The Most Common First-Timer Mistakes
Work through these errors before you pick up a roller. Each one is easy to avoid once you know what to watch for.
Skipping surface cleaning and patching before painting.
Why it happens: First-timers often underestimate how much dirt, grease, and minor damage hides on walls, especially in kitchens and hallways.
Skipping primer, especially on new drywall or drastic color changes.
Why it happens: Primer feels like an extra step and an extra expense, so many beginners go straight to the topcoat believing two coats of paint will compensate.
Choosing the wrong paint sheen for the room's function.
Why it happens: Flat paint is often chosen because it hides imperfections well, but it is not durable enough for high-traffic or moisture-prone areas.
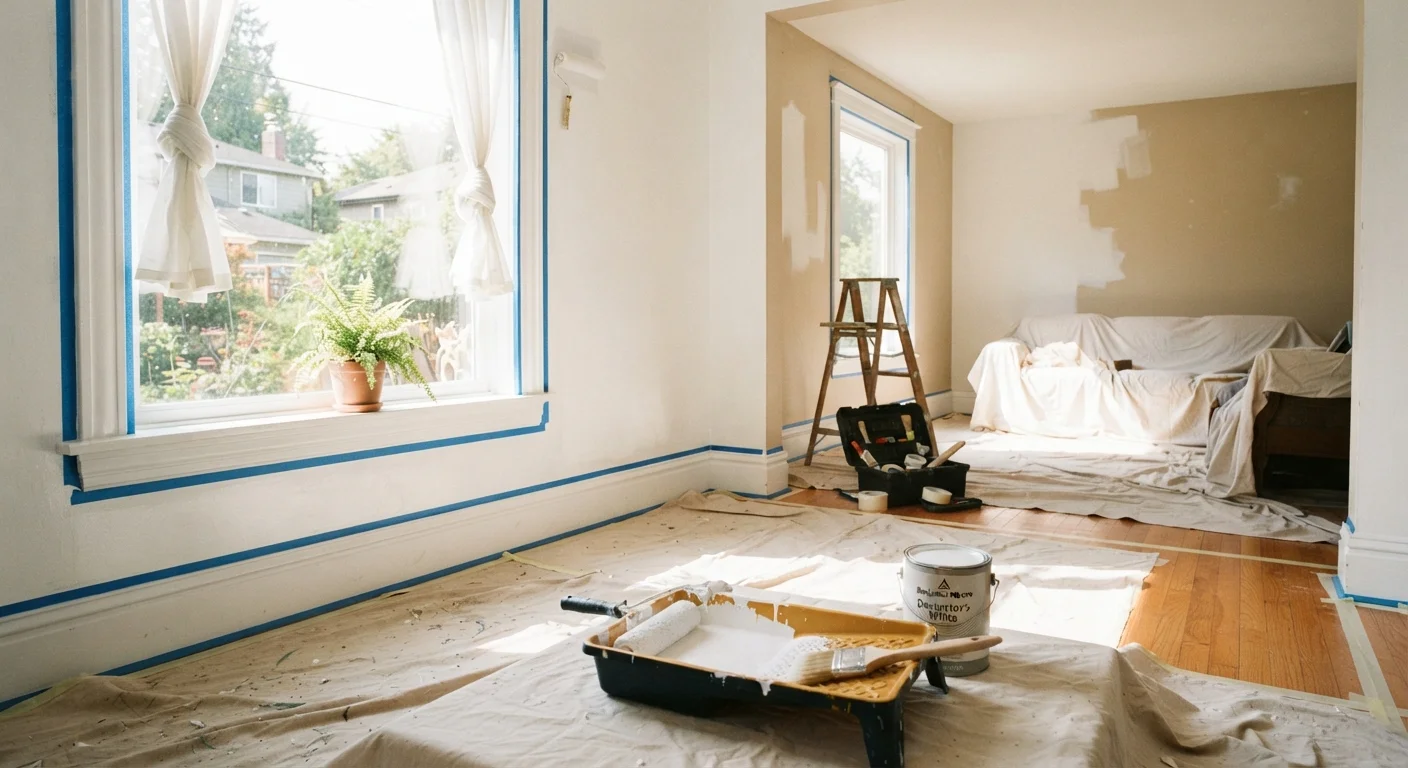
Not using enough painter's tape - or taping incorrectly.
Why it happens: Taping takes time, and first-timers often try to cut in freehand or apply tape carelessly, assuming a steady hand will be enough.
Buying the wrong amount of paint.
Why it happens: Without calculating wall square footage, first-timers guess - and often run short mid-project or overbuy significantly.
Rushing between coats and skipping adequate dry time.
Why it happens: Impatience is natural, especially on a weekend project with limited time. Paint may feel dry to the touch well before it is ready for recoating.
80%
Of paint job quality determined by prep work
Professional painters commonly estimate that preparation - not the paint itself - accounts for the majority of a finish's durability and appearance.
2-4 hrs
Recommended dry time between coats
Most latex interior paints require at least two hours of dry time between coats; recoating too soon is a leading cause of peeling and streaking.
Even small rooms benefit from methodical prep. If a fresh coat of paint is part of a broader bathroom update, see how to prioritize a bathroom refresh on a budget for guidance on sequencing improvements by impact.
Setting Yourself Up for a Finish That Lasts
Test for Lead Paint in Older Homes
Homes built before 1978 may contain lead-based paint. Sanding or scraping lead paint without proper precautions creates hazardous dust. Inexpensive lead test swabs are widely available. If your home tests positive, consult a certified lead abatement professional before proceeding with any prep work.
Once you've worked through the common mistakes, a few finishing habits make a lasting difference. Load your roller evenly - too much paint creates drips, too little causes dry, streaky coverage. Work in sections from ceiling to floor, maintaining a wet edge to avoid lap marks where sections overlap.
Clean brushes and rollers thoroughly immediately after use; dried latex paint ruins tools. Store any leftover paint in a tightly sealed can, label it with the room and color code, and keep it for future touch-ups. A well-executed paint job can do more than refresh walls - it's one of the simplest ways to make a room feel larger and more open without structural changes.
If during prep you discover damage that goes beyond surface imperfections - persistent stains, soft drywall, or signs of past leaks - pause before painting. Common home maintenance myths often encourage homeowners to cover up problems rather than address them, and paint is a frequent offender.