

Key Takeaways
Why Backsplash Tiling Rewards Careful Planning
A tiled backsplash is one of the higher-impact upgrades a family can make to a kitchen without touching cabinets or appliances. It protects walls from grease and moisture, adds visual texture, and can genuinely refresh a dated space. It's also a project where skipping steps early creates problems that are expensive and frustrating to fix later.
This guide covers what actually happens at each stage — not just which tools to gather, but why each step matters and what can go wrong. If you've tackled other wall projects, lessons from room painting apply here too: prep and patience separate clean results from do-overs.
What you will need
What You'll Need Before You Start
Gather materials before mixing anything. Running to a hardware store mid-project while adhesive is drying on a trowel wastes both product and time. Purchase tile in one batch, since dye lots vary between shipments and mismatched batches are noticeable on a finished wall.
Notched trowel
Used to spread adhesive evenly onto the wall surface, creating ridges that help tiles bond correctly.
Tile spacers
Maintain consistent grout joint width between tiles for a professional, even appearance.
Wet saw or tile cutter
Cuts tiles to fit edges, corners, and around outlets cleanly without cracking.
Level and chalk line
Establishes a perfectly horizontal starting line so the tile layout doesn't drift or look crooked.
Grout float
Pushes grout into joints at the correct angle without scratching tile faces.
Grout sealer
Applied after grout cures to resist staining and moisture infiltration in the finished joints.
Sponge and bucket
Used to wipe excess grout off tile faces before it fully hardens.
Outlet extender boxes
Bring electrical outlets flush with the new tile surface after added tile thickness changes wall depth.
For adhesive, choose thinset mortar for areas that regularly encounter steam or splashes. Mastic (a pre-mixed organic adhesive) works in lower-moisture zones but softens if it stays wet too long. When in doubt near a sink or stove, thinset is the more durable choice.
The Installation Process, Step by Step
Work through the steps below in order. Rushing any stage — particularly cure times — is the most common reason backsplash tile fails or looks uneven within a year of installation.
Prepare the wall surface
Remove any grease, soap residue, or old adhesive from the wall. Use a degreaser on kitchen walls — standard cleaning products often leave a film that weakens adhesive bond. Sand any glossy paint lightly with 80-grit sandpaper. Fill holes or dips with joint compound and let it dry fully. A flat, clean surface is non-negotiable; adhesive cannot compensate for an irregular wall.
Mark your layout lines
Find the visual center of the backsplash area and snap a vertical chalk line. Use a level to draw a horizontal line at the height of your bottom tile row — typically just above the countertop. These reference lines ensure your tile pattern stays symmetrical and level across the full wall, not just at the starting point.
Mix and apply adhesive
Mix thinset mortar to a peanut-butter consistency — no lumps, no standing water. Apply it to the wall in small sections (roughly two to three square feet at a time) using the flat side of the notched trowel to press it in, then comb ridges with the notched edge. Work in small sections so the adhesive doesn't skin over before tiles are placed.
Set tiles with spacers
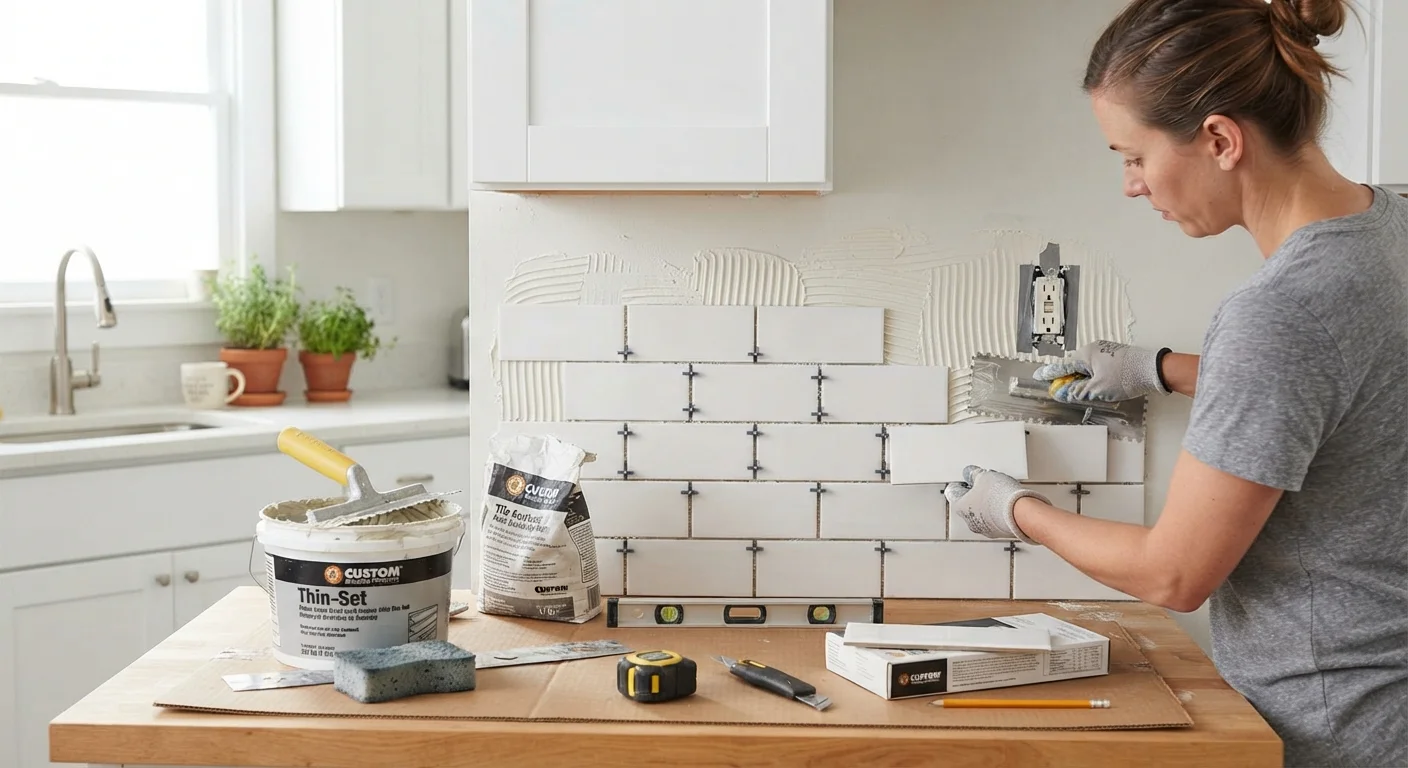
Press each tile firmly into the adhesive with a slight twisting motion, then use plastic tile spacers at every corner to hold consistent joint width. Check frequently with your level — don't assume the wall or countertop is perfectly flat. Tap tiles gently with a rubber mallet and a scrap of wood to seat them evenly without cracking.
Cut tiles for edges and outlets
Measure each cut piece individually rather than assuming all edge gaps are the same width. Score-and-snap cutters work for straight cuts in ceramic tile; a wet saw handles porcelain, glass tile, and diagonal cuts much more cleanly. For outlet openings, mark the cutout carefully with a pencil and use a wet saw or rotary tool with a tile-cutting bit.
Let adhesive cure before grouting
Allow the adhesive to cure for a minimum of 24 hours — longer in humid conditions. Remove all tile spacers before the adhesive becomes completely rigid. Do not apply any weight or pressure to the tiles during this period. Grouting over uncured adhesive traps moisture that can cause tiles to pop off the wall over time.
Apply and finish grout
Mix unsanded grout for joints under 1/8 inch wide; use sanded grout for wider joints. Apply with a grout float held at a 45-degree angle, pressing grout firmly into joints. Work in small sections. After about 15–20 minutes, use a damp (not soaking) sponge to wipe tile faces in a circular motion, rinsing the sponge frequently. A light haze will remain — buff it off with a dry cloth once grout has set further.
Once grouting is complete and sealed, the backsplash becomes far easier to maintain. For broader guidance on keeping tiled surfaces in good shape, see our article on protecting wet areas from grout and tile damage.
Electrical and Plumbing Work Near Tile
If your backsplash area includes electrical outlets, switches, or plumbing shutoffs, always turn off power or water before cutting or tiling around them. Adding tile thickness sometimes requires outlet box extenders to bring receptacles flush with the new surface — this work should be done by or reviewed by a licensed electrician. Do not cover or tile over any shut-off valves.
Fitting This Project Into a Bigger Kitchen Refresh
A backsplash works best as part of a coordinated approach rather than an isolated change. If cabinet paint is peeling or hardware looks dated, updating those elements alongside the tile creates a more cohesive result. Our overview of low-cost kitchen updates walks through how to sequence those changes without overspending.
The same principles apply in bathrooms. Tile, grout, and moisture management matter just as much in a small bath as in a kitchen. If that's on your list, see budget bathroom refresh priorities for a sequenced approach by impact and cost.
This article provides general home improvement information for educational purposes. Results vary based on surface conditions, materials, and individual skill level. For work involving plumbing, gas lines, or structural modifications, consult a licensed professional and verify any local permit requirements before starting.