Key Takeaways
The Temptation of the Quick Fix
A damp, stained wall is an eyesore, and a fresh coat of paint feels like an obvious, low-cost solution. For many budget-conscious homeowners, it's the first instinct - cover it up, move on. But painting over moisture damage doesn't repair anything. It postpones a problem that, left unaddressed, almost always grows more expensive.
Understanding why this shortcut fails requires looking at what moisture actually does inside a wall or ceiling - and why no coating on the surface can stop it. If you've already made common prep mistakes on past paint projects, our guide on what first-time painters get wrong covers overlapping pitfalls worth knowing.
Myth
Mold-resistant paint will kill existing mold and prevent it from coming back.
Fact
Mold-resistant paint inhibits future surface growth only - it cannot kill active mold colonies or stop growth behind the painted surface.
Mold-resistant paints contain antimicrobial additives that discourage mold from growing on the painted surface. They were designed as a preventive measure in high-humidity areas that are otherwise dry and properly sealed. Applied over an existing mold problem, these paints do nothing to the root cause. The mold beneath continues to consume organic material in the drywall and framing, often spreading unseen for months before the paint begins to bubble and separate.
Myth
If the wall looks and feels dry, it's safe to paint over the stain.
Fact
Surface dryness does not indicate that the underlying material has fully dried - drywall and framing can hold moisture well below the surface for weeks.
Drywall paper and gypsum can feel dry to the touch while moisture content inside the panel remains elevated. A reliable way to check is with an inexpensive pin-type moisture meter, which measures moisture content at depth. Most professionals consider drywall ready for painting when moisture content reads below 12 percent. Skipping this step and painting prematurely traps remaining moisture, leading to adhesion failure and potential mold development underneath the new coat.
Myth
Water stains on the ceiling are just cosmetic - a stain-blocking primer fixes them permanently.
Fact
Stain-blocking primer covers discoloration but does nothing to address the active or past leak that caused it. If the source isn't repaired, staining returns.
Stain-blocking primers are genuinely useful products - for sealing a fully dry, remediated surface before repainting. Used correctly, after the leak is fixed and the area is completely dry, they prevent old staining from bleeding through fresh paint. The problem is using them as a substitute for repair. If the roof, plumbing, or HVAC condensate line causing the stain hasn't been corrected, the primer will be saturated again within the next rain or leak event, and the stain reappears - usually worse.
Myth
Painting over moisture problems is a reasonable short-term fix while you save up for repairs.
Fact
Covering moisture damage accelerates decay by trapping humidity, which can cause far more structural damage and remediation cost than addressing the issue promptly.
The logic of a temporary cosmetic fix seems financially sensible but tends to backfire. Paint applied over damp drywall traps moisture against the paper facing and gypsum core, accelerating deterioration. Framing lumber behind the wall softens as moisture content climbs, and persistent elevated humidity creates ideal conditions for wood-destroying organisms. What might have been a straightforward drywall patch and caulk repair can escalate into framing replacement if left unaddressed for a season or two. Addressing the moisture source - even with a basic DIY repair - is almost always the lower-cost path.
What's Actually Happening Behind the Surface
Moisture problems in homes generally fall into a few categories: condensation from poor ventilation, active leaks from plumbing or roofing, and ground moisture wicking up through foundation walls. Each has a different source and a different fix - none of which involves paint.
When water enters a wall system, it gets absorbed by drywall, framing lumber, and insulation. These materials hold moisture long after the visible surface appears dry. Paint forms a vapor-impermeable layer over a substrate that's still wet underneath. The trapped moisture continues to migrate, and the paint fails - usually within weeks to months, depending on conditions.
Don't Paint Over Suspected Mold
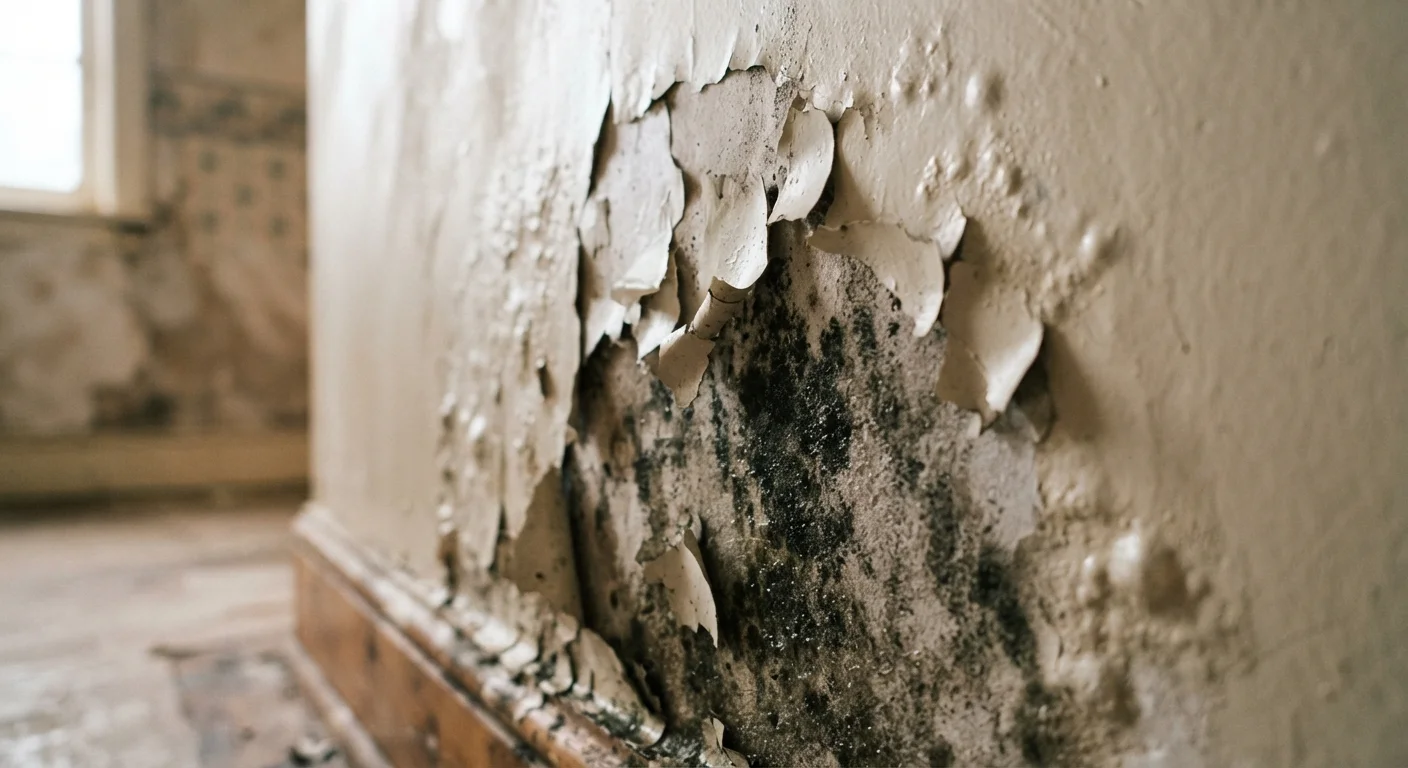
If you see discoloration with a fuzzy or irregular texture, a musty odor, or recurring stains that keep coming back, do not apply paint until the area has been assessed. Encapsulating active mold can allow it to spread undetected through wall cavities. For areas larger than about 10 square feet, the EPA recommends professional assessment before remediation.
Mold is the other serious concern. Many species of household mold begin colonizing within 24 to 48 hours of sustained moisture exposure, according to the U.S. Environmental Protection Agency. Painting over mold doesn't kill it - it simply encapsulates spores temporarily. Growth continues underneath, and the mold can spread laterally through wall cavities without being visible at the surface. This is especially common in bathrooms and kitchens where humidity is consistently high. See our article on keeping wet areas moisture-free for prevention steps in those zones.
Finding the Source Before You Touch the Wall
No surface repair is worth starting until the moisture source is identified and stopped. This is the step most DIYers skip - and the reason repairs fail. Start by asking: Is this moisture coming from outside or from inside the building envelope?
- Check plumbing first. Look for slow drips behind vanities, under sinks, and at supply line connections. Even a small, intermittent drip produces significant wall saturation over time.
- Inspect caulk and grout. Failed sealant around tubs, showers, and windows is a primary entry point. Cracked caulk allows water to migrate behind tile and into wall framing. Our article on why caulk fails and how to reseal it walks through this in detail.
- Assess ventilation. Bathrooms without functioning exhaust fans generate chronic condensation on walls and ceilings. Run your hand along the ceiling after a shower - if it's consistently wet, ventilation is likely the culprit.
- Look at the exterior. Gutter overflow, grading that slopes toward the foundation, and damaged flashing around windows are common sources of moisture intrusion.
For persistent or widespread moisture, particularly in basements or near structural lumber, consult a licensed home inspector or waterproofing contractor before attempting repairs. Some conditions require permitted work that goes well beyond DIY scope. For a broader look at costly maintenance misconceptions, home maintenance myths that cost real money is worth reading alongside this one.
24-48 hrs
Time for mold to begin colonizing wet materials
According to the U.S. Environmental Protection Agency, mold can begin growing on damp surfaces within one to two days of sustained moisture exposure.
~$2,300
Average cost of professional mold remediation
Industry estimates suggest that localized mold remediation in a single area typically ranges from several hundred to several thousand dollars, depending on extent and material type.