

Key Takeaways
Why Caulk Fails in the First Place
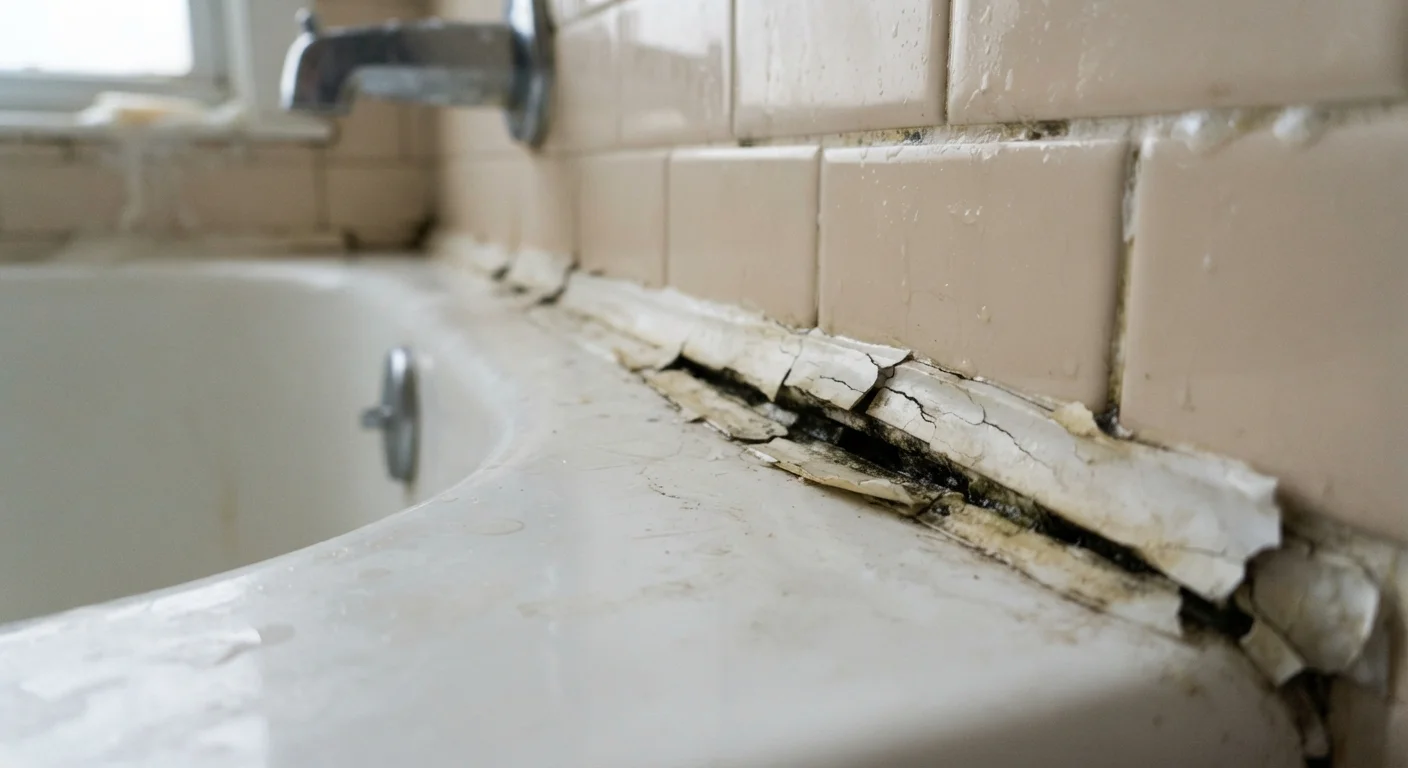
Caulk is a flexible sealant designed to bridge the gap between two surfaces that expand and contract with temperature and humidity changes. When it cracks, shrinks, or peels away, it's almost never a sign that the task is beyond a homeowner's ability - it's usually a sign that one or two steps were skipped or done incorrectly.
Understanding what caulk is actually doing helps clarify why small mistakes matter so much. A bead of caulk around a tub isn't decorative; it's the primary barrier keeping water from seeping behind tiles and into wall cavities. Around windows and exterior doors, it blocks drafts and slows moisture intrusion. When it fails, water finds a way in - and water damage compounds quickly. See our guide on why surface treatments don't fix underlying moisture for a deeper look at what happens when small sealing failures go unaddressed.
The good news: recaulking is genuinely beginner-friendly when approached systematically. The mistakes below are the most common reasons caulk fails prematurely - and each one is completely avoidable.
Using the wrong type of caulk for the location.
Why it happens: Most hardware stores carry a dozen caulk varieties, and the labels can be confusing. Many homeowners grab whatever is cheapest or most familiar without checking whether it suits the surface or environment.
Applying new caulk directly over old, cracked caulk.
Why it happens: It looks like a shortcut - the gap is already there, so filling it seems logical. Removing the old caulk feels like extra work with no obvious benefit.
Caulking over a damp or dirty surface.
Why it happens: Homeowners often try to recaulk a tub or shower immediately after noticing the problem - without waiting for the surface to fully dry. Soap film and mildew are easy to overlook on smooth tile.
Exposing fresh caulk to water before it fully cures.
Why it happens: People assume "dry to the touch" means ready for use. It doesn't - the outer skin of caulk dries well before the interior cures, and water exposure during that window breaks down adhesion.
Applying caulk in a single thick bead rather than a consistent, thin line.
Why it happens: More caulk seems like a better seal. Thick beads also hide gaps more easily, which feels reassuring to a first-timer.
How to Recaulk for Results That Actually Last
Once you understand where caulk jobs go wrong, the path to a durable seal becomes straightforward. The process has three non-negotiable phases: full removal of old caulk, thorough surface preparation, and proper application with adequate cure time.
Removal: Use a caulk removal tool or plastic scraper to lift old caulk completely. Chemical caulk removers can soften stubborn residue. Never caulk over existing caulk - even a thin remnant left behind disrupts adhesion.
Surface preparation: Clean the joint with isopropyl alcohol or a mild bathroom cleaner and let it dry completely - ideally for 24 hours in a humid bathroom. Any remaining soap residue, mold, or moisture will prevent proper bonding. If mold is present on grout or tile nearby, address that first; our article on keeping wet areas of your home intact covers the full process.
Application: Cut the caulk tube nozzle at a 45-degree angle for a controlled bead. Apply steady, consistent pressure and pull the gun toward you rather than pushing it. Smooth the bead immediately with a wet finger or caulk tool before it skins over.
Cure time: Most kitchen and bath siliconized latex caulks are water-resistant within a few hours but require 24-48 hours of full cure before sustained water exposure. Pure silicone may need longer - check the product label. Skipping this wait is one of the most common reasons a fresh caulk job fails within weeks.
Don't Caulk Expansion Joints or Weep Holes
Certain gaps in a home are intentional. Weep holes in brick veneer and expansion joints in concrete or masonry allow moisture to escape and materials to move. Sealing these with caulk can trap water, accelerate structural damage, and void manufacturer warranties on some windows. If you're unsure whether a gap should be sealed, consult a licensed contractor before filling it.
For more context on how caulking fits into broader home sealing strategies, the plain-language primer on caulking, weatherstripping, and insulation is a helpful companion read. And if you're unsure whether you need caulk or weatherstripping for a particular gap, this comparison guide breaks it down clearly.