

Key Takeaways
Start here
Understanding the Three Most Common Drywall Problems
Gather supplies
Tools and Materials You'll Need
First repairs
How to Fix Nail Pops and Hairline Cracks
Bigger patches
Patching Small to Medium Holes
Final steps
Finishing, Sanding, and Painting Over Repairs
Know your limits
When to Call a Professional Instead
Understanding the Three Most Common Drywall Problems
Walk through most homes and you'll spot the same three issues on walls and ceilings: small holes left by picture hooks or doorknob impacts, hairline cracks that appear as a house settles, and nail pops - those small circular bumps where a fastener has worked its way toward the surface. Each looks different and has a distinct cause, but all three are well within the reach of a first-time DIYer.
Joint compound
A plaster-like paste used to fill, coat, and smooth drywall repairs. It shrinks slightly as it dries, which is why multiple thin coats are needed.
Feathering
The technique of gradually thinning the edges of joint compound outward so the patch blends invisibly into the surrounding wall.
Nail pop
A small raised bump on a wall or ceiling surface caused by a drywall nail or screw backing out of the stud behind it, usually due to wood shrinkage.
Mesh patch
A self-adhesive fiberglass screen that spans a hole in drywall, giving joint compound a surface to grip onto as it dries.
Flashing
A dull or shiny spot that appears on a painted wall where bare joint compound was not primed before painting, causing uneven paint absorption.
Holes range from tiny nail punctures to fist-sized gaps left by doorknobs or accidental impacts. The repair method scales with size. Cracks are usually the result of seasonal wood movement or normal structural settling. Hairline cracks that don't grow or recur after repair are rarely a cause for alarm. Nail pops happen when a drywall nail or screw loses its grip on the stud behind it and pushes the paper surface outward. They look alarming but fix in minutes. Understanding which problem you're looking at determines which technique - and how much material - you'll need.
Tools and Materials You'll Need
Assembling the right supplies before you start prevents mid-job trips to the hardware store. Most of these items cost only a few dollars each.
- Putty knife (4-6 inch): Used to apply and smooth joint compound.
- Sandpaper (120-grit and 220-grit): For feathering compound smooth between coats.
- Lightweight joint compound: The all-purpose patching material for most repairs.
- Self-adhesive mesh patch kit: For holes between one and six inches; the mesh provides structure for the compound.
- Drywall screws and a drill/driver: Needed to re-anchor nail pops properly.
- Drywall primer: Essential before painting - this step is skipped far too often.
- Sanding block or sponge: Keeps pressure even across the surface.
- Dust mask and safety glasses: Joint compound dust is fine and irritating - always protect your lungs and eyes when sanding.
For the full picture on how drywall repair fits into a larger project budget, see the guide to home improvement on a budget.
How to Fix Nail Pops and Hairline Cracks
Nail pops: Resist the temptation to simply pound the nail back in - it will pop again. Instead, drive a drywall screw about two inches above and below the popped nail to pull the drywall tight against the stud. Then drive the original nail in slightly so its head dimples (not tears) the paper. Cover all three spots with two thin coats of joint compound, letting each coat dry fully before applying the next.
Hairline cracks: Widen the crack slightly with a putty knife so the compound has something to grip - a crack that's just surface-deep won't hold filler for long. Apply a thin coat of joint compound, press fiberglass mesh tape over it, then apply a second coat over the tape, feathering the edges at least three inches on each side. Sand smooth when dry.
Thin Coats Always Win
The single most reliable way to get a smooth, invisible repair is to apply joint compound in thin layers and let each one dry fully. A thick coat shrinks as it dries, creating cracks or low spots that are harder to fix than if you'd started thin. Three passes of thin compound beats one heavy application every time.
Patching Small to Medium Holes
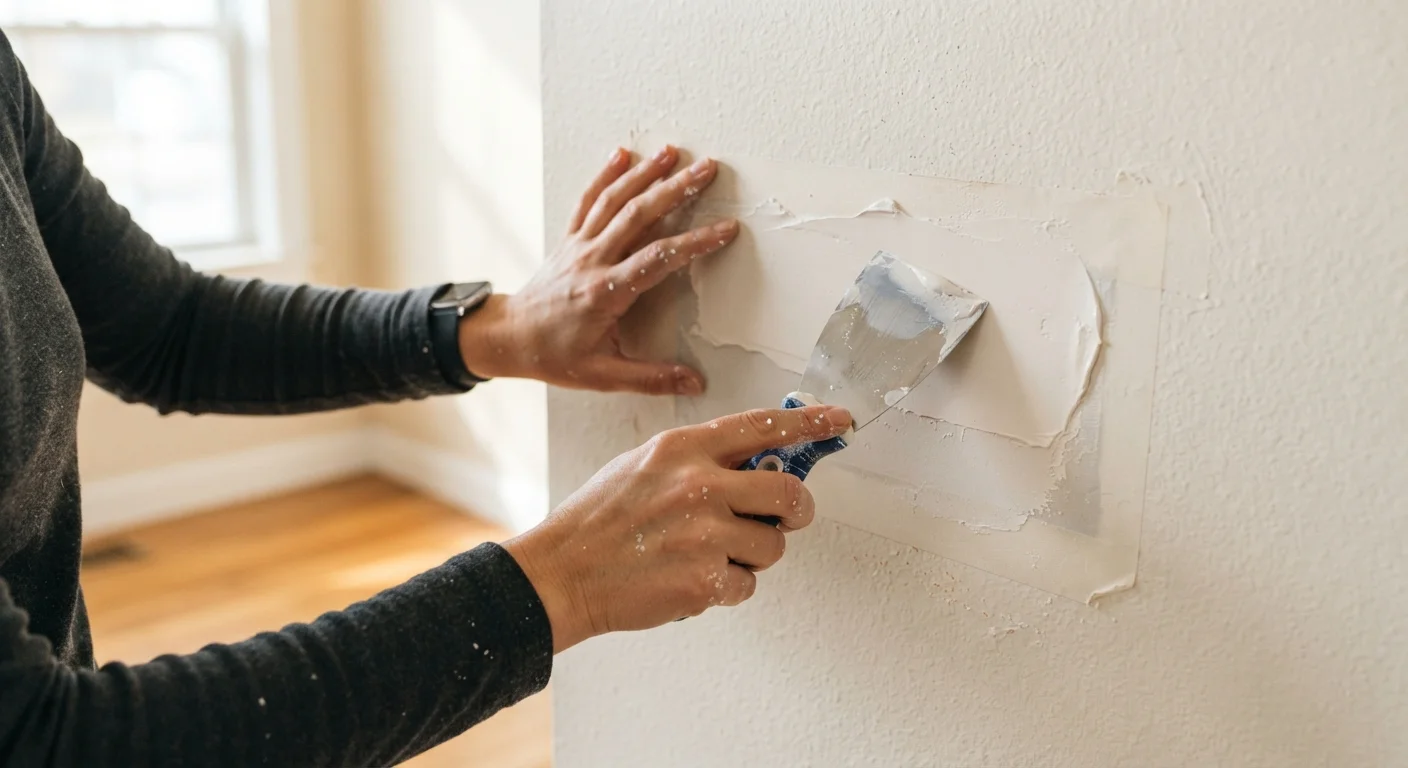
For holes up to about one inch - doorstop dents or old anchor holes - fill with lightweight joint compound using a putty knife, let it dry, apply a second thin coat if any shrinkage occurred, then sand smooth. No backing is needed.
For holes between one and six inches, a self-adhesive mesh patch is the most beginner-friendly approach. Clean away any loose paper or crumbled drywall around the hole. Stick the mesh patch over the hole, then apply joint compound over it in thin layers using broad, feathering strokes. Three coats are typical: a fill coat over the mesh, a skim coat once that's dry, and a final coat to blend. Each coat should dry completely - usually 24 hours - before the next.
For holes larger than six inches, a California patch (cutting a clean square and using drywall backer boards) is effective but more involved. If you've never attempted it, review the DIY vs. professional repair framework before deciding whether to proceed yourself.
Finishing, Sanding, and Painting Over Repairs
Sanding is where most beginners either rush or overdo it. Use 120-grit paper to knock down high spots and blend the edges, then finish with 220-grit for a smooth surface. Always use a sanding block - fingers concentrate pressure and leave ridges. Keep the room ventilated and wear a dust mask.
Once you're satisfied the repair is flush with the surrounding wall, wipe away dust with a slightly damp cloth and let the surface dry. Apply drywall primer to the repaired area before painting. Skipping primer causes flashing - a dull, visible patch that shows through even multiple coats of paint. Our guide on what first-time painters get wrong covers this and other prep pitfalls in detail.
Don't Skip the Primer Step
Painting directly over bare joint compound - even if it looks smooth - almost always results in a visible patch. Bare compound is highly porous and absorbs paint unevenly, leaving a dull spot that stands out on any sheen above flat. A single coat of drywall primer prevents this and takes only minutes to apply.
When to Call a Professional Instead
Not every drywall issue is a DIY job. Call in a licensed contractor if you notice any of the following:
- Cracks that are wide, recurring, or stair-step along mortar joints - these can indicate foundation movement.
- Water stains, soft spots, or mold near the damage - the source of moisture must be identified and fixed before any cosmetic repair makes sense.
- Damage near electrical panels, outlets, or plumbing lines - opening walls in these areas carries real risk.
- Sagging or bowing sections of ceiling - a potential safety hazard requiring professional evaluation.
DIY drywall repair is genuinely empowering for everyday wear and tear, but knowing your limits protects both your home and your household. When in doubt, a professional assessment is money well spent.