

Key Takeaways
Why the Introduction Process Matters
Bringing a new pet into a home that already has animals is one of the most common sources of household stress for pets - and for the families managing them. Animals are territorial by nature, and a newcomer disrupts established routines, scent boundaries, and social hierarchies. Done without a plan, the result can be fights, chronic anxiety, or a resident animal whose quality of life deteriorates.
The good news is that a structured, phased approach has a strong track record across species. Veterinary behaviorists and animal welfare organizations consistently recommend slowing the process down rather than hoping animals will "just figure it out." Most animals can learn to coexist peacefully - and many become genuinely bonded - when given appropriate time and support.
If you have a senior resident pet, be especially thoughtful: older animals are often less adaptable to change and may need extra reassurance. Our article on caring for senior pets covers how aging affects behavior and stress tolerance.
Before the new pet even arrives, it also helps to make sure your home setup and family routines are ready. Our family training readiness checklist walks through what to prepare in advance.
What you will need
What You'll Need
You don't need expensive equipment to run a successful introduction - the most important resource is time. That said, having the right basic tools on hand makes each step more manageable.
Baby gate or exercise pen
Creates a physical barrier that allows animals to see and smell each other safely without direct contact.
Separate food and water bowls
Prevents resource guarding by ensuring every animal has its own designated feeding station.
Bedding or worn clothing items
Used for scent swapping so animals can investigate each other's smell in a low-pressure setting.
High-value treats
Reinforces calm, positive behavior during controlled introduction sessions.
Enzymatic cleaner
Neutralizes territorial scent markings or accidents without harsh chemical odors that can stress animals.
Keep in mind that both animals should have up-to-date veterinary health checks before sharing a household. This protects all pets from communicable illnesses and gives you a current behavioral and health baseline for each animal.
Step-by-Step: How to Introduce a New Pet
Follow these steps at the pace of the more cautious or reactive animal. Rushing is the single most common mistake families make. Each step should feel calm and easy before you move to the next.
Set Up a Dedicated Space for the New Pet
Before the new animal arrives, prepare a separate room - sometimes called a base camp - stocked with everything it needs: food, water, bedding, a litter box (for cats), and enrichment items. This space gives the newcomer time to decompress from the stress of travel or a shelter stay, and it prevents an immediate territorial confrontation with resident animals.
Keep the door closed. Resident pets will smell the newcomer under the door, which begins the adjustment process passively and safely.
Begin Scent Swapping
After one to two days, swap a piece of bedding or a worn cloth between the new pet's space and the areas your resident animals use. Allow each animal to investigate the scent at their own pace without pressure. Reward calm, relaxed responses with a treat to build a positive association.
Repeat this exchange daily, gradually introducing more items. This step does the foundational work of familiarizing animals with each other's presence before any visual or physical contact occurs.
Allow Supervised Scent Investigation at the Door
Once both animals seem relaxed around the swapped scents - typically after several days - allow them to sniff each other under the closed door during a supervised session. Watch for body language cues: a relaxed posture, soft eyes, or playful pawing are encouraging. Sustained growling, hissing, or flattened ears signal the animals need more time at the scent-swap stage.
Introduce a Visual Barrier Meeting
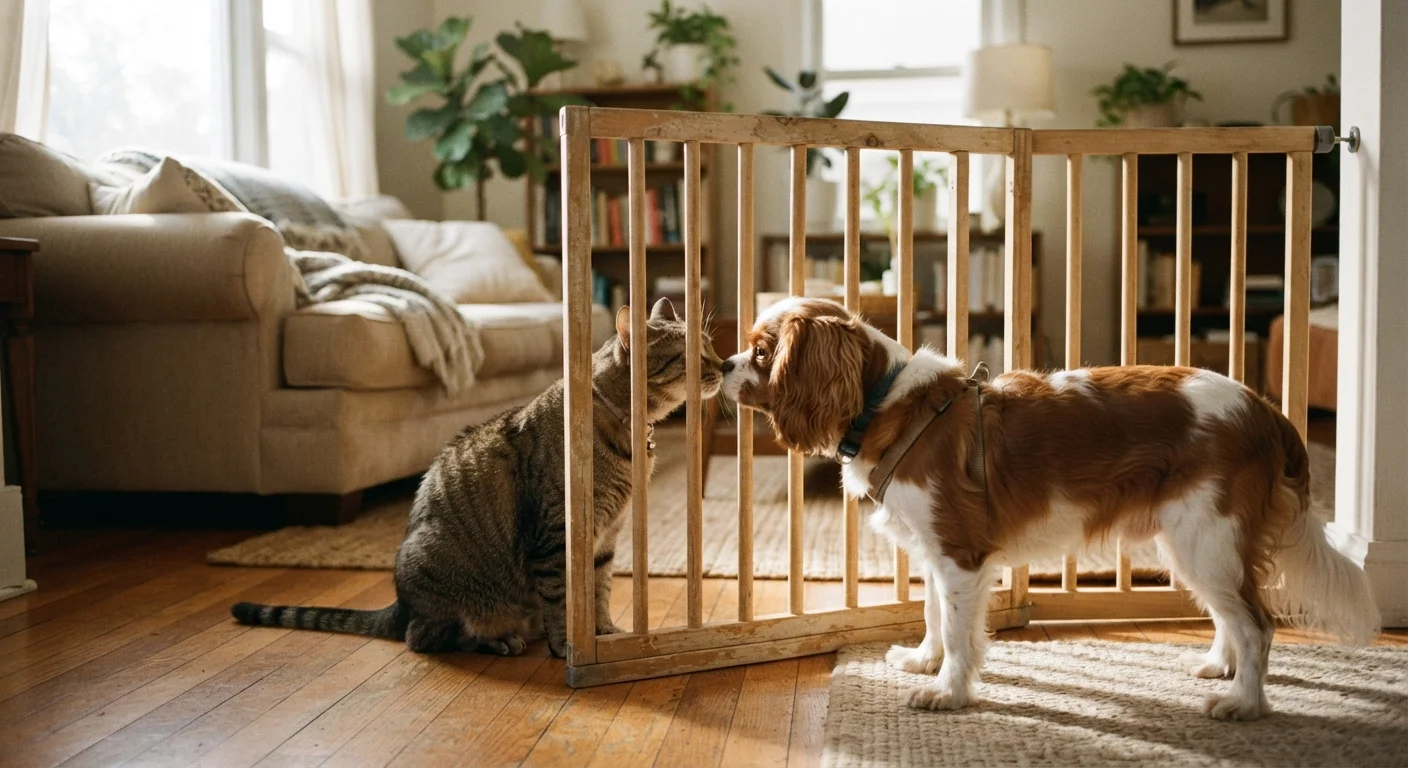
When both animals are calm at the door, crack it open with a baby gate or exercise pen in place, or use a cracked door secured with a door stopper. Allow brief, voluntary visual contact - a few minutes at most. Keep sessions short and positive. Offer treats to both animals simultaneously to reinforce the idea that the other's presence predicts good things.
End each session before either animal shows signs of stress. Multiple short, successful sessions are far more effective than one long, forced encounter.
Move to Controlled Face-to-Face Time
Only when both animals are consistently relaxed during barrier meetings should you allow them in the same room together. Keep the new pet on a leash (if a dog) or in a carrier (if a cat or small animal) for the first session. Allow the resident animal to approach at their own pace. Keep the session brief - five to ten minutes - and end it positively before tension builds.
Gradually increase the duration of shared time over several days, always watching for stress signals and always ensuring each animal can retreat to its own space.
Monitor Ongoing Behavior and Adjust
Even after a successful introduction, monitor both animals for behavioral changes: appetite shifts, hiding, changes in litter box use, or increased vocalization can indicate stress. These signals often appear days after the introduction, not immediately.
If you notice signs of anxiety in either animal, slow down the shared-access schedule and give each pet more dedicated one-on-one time with you. For a deeper look at what stress and anxiety can look like in dogs and cats, see our guide: understanding anxiety in dogs and cats.
Use Feeding Time to Build Positive Associations
Feeding both animals on opposite sides of a closed door is one of the most effective low-cost ways to create good feelings around each other's scent. Gradually move the bowls closer to the door over several days as both animals eat calmly. This technique costs nothing and can accelerate acceptance considerably.
Never Force Animals to Share Space
Forcing a resident pet and a newcomer into the same room before either is ready can trigger fear-based aggression that sets the introduction back significantly. Always allow animals to retreat and control the pace of contact. If either animal shows sustained growling, hissing, lunging, or refusal to eat, slow down the process and consult your veterinarian or a certified animal behaviorist.
When Progress Stalls
Not every introduction goes smoothly, and that is normal. If animals continue to show aggression or extreme fear after several weeks of careful, gradual work, consult your veterinarian. They can rule out underlying medical causes for reactivity and, if needed, refer you to a certified applied animal behaviorist (CAAB) or veterinary behaviorist. These professionals can develop a customized behavior modification plan.
Behavioral support does not have to be expensive - many extension programs at veterinary schools and nonprofit shelters offer low-cost consultations. If you have children involved in the process, our guide on involving kids in pet training can help you keep the household consistent and safe during this transitional period.
This article is intended as general guidance for pet owners and does not replace advice from a licensed veterinarian or certified animal behaviorist. If any animal in your home shows signs of injury, serious distress, or persistent aggression, contact your veterinarian promptly.