

Key Takeaways
Why Composting Is Worth Your Time
Composting is one of the most impactful - and lowest-cost - habits a home gardener can adopt. Rather than sending vegetable peels, coffee grounds, and yard clippings to the landfill, you convert them into a dark, crumbly material called finished compost that dramatically improves almost any garden soil. If you've been hesitant because of stories about smelly bins and complicated ratios, those concerns are largely avoidable with a few straightforward habits.
Good compost is essentially managed decomposition. Microorganisms, worms, and fungi break organic matter down over weeks and months. Your job is to give them the right mix of food, moisture, and air. When those conditions are met, the process happens quietly and without odor. When something smells bad, it is almost always a fixable imbalance - usually too many wet scraps and not enough dry material.
If you're building toward a productive home garden, composting pairs naturally with low-cost soil improvement strategies to give you a foundation that costs almost nothing to maintain year after year.
Start Small and Build the Habit
Beginning with just a kitchen scrap bucket and a small pile in the yard removes the pressure of doing everything perfectly. Even an imperfect compost pile still breaks down and produces something useful. Once the routine becomes natural - scraps go in the bucket, bucket goes to the bin, browns go on top - you can refine your technique over time.
What You Need to Get Started
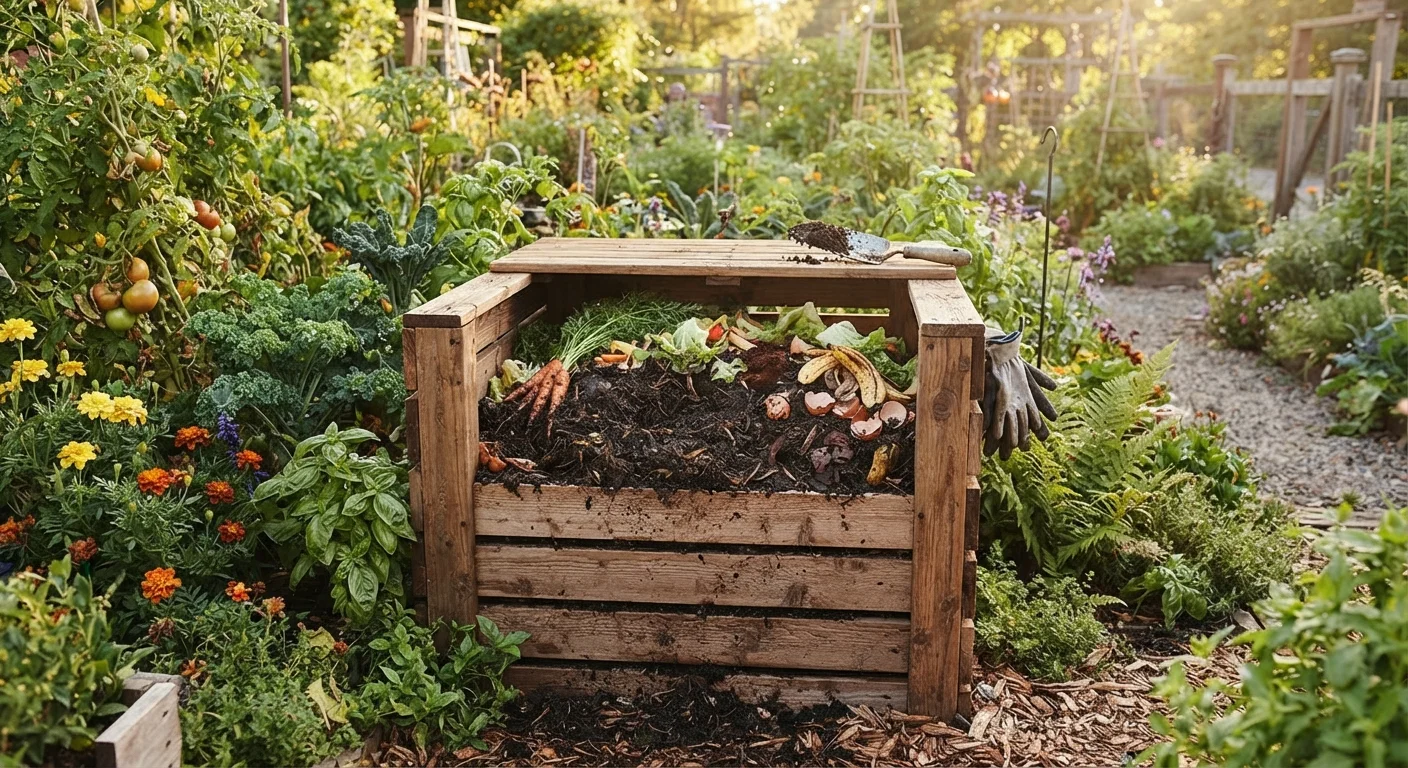
You don't need specialized equipment to compost successfully. Many families start with nothing more than a pile in a back corner of the yard. A simple bin - whether store-bought, built from scrap lumber, or repurposed from a plastic trash can with holes drilled in the sides - helps contain the pile and speeds the process by retaining some warmth and moisture.
What you will need
Compost bin or container
Holds the pile in place, retains warmth and moisture, and discourages larger pests from accessing the material.
Garden fork or pitchfork
Used to turn and aerate the pile every one to two weeks to speed decomposition.
Kitchen scrap collection container (countertop)
Allows you to collect vegetable peels and coffee grounds in the kitchen before transferring them to the outdoor bin.
Watering can or hose
Used to lightly moisten a pile that has dried out - the pile should feel like a wrung-out sponge.
Once you have a location and a container (or a bare patch of ground), you're ready to begin collecting materials.
Understanding Greens and Browns
Every compost pile is a blend of two material types:
- Greens (nitrogen-rich): fresh vegetable and fruit scraps, coffee grounds, tea bags without staples, fresh grass clippings, plant trimmings
- Browns (carbon-rich): dry leaves, cardboard torn into small pieces, paper bags, straw, shredded newspaper, dry plant stalks
A workable target is roughly two to three parts browns for every one part greens by volume. This ratio keeps the pile aerated and dry enough to prevent the anaerobic (oxygen-free) conditions that cause foul odors. If your pile ever smells like ammonia or rotten eggs, adding more browns and turning the pile once will typically resolve it within a day or two.
What to avoid: meat, fish, dairy, oily foods, pet waste, and diseased plant material. These either attract pests or introduce pathogens that a home pile may not reliably eliminate.
Keep Pests Out With Smart Habits
Meat, dairy, cooked foods, and oily scraps are the primary reasons rodents and other pests are attracted to compost bins. Sticking to raw plant-based kitchen scraps eliminates most pest risk. A bin with a secure lid adds an extra layer of protection if wildlife is active in your area.
Step-by-Step: Building and Maintaining Your Pile
Follow these steps to set up a functional compost system from scratch. Even if your yard is small, the same approach applies - simply scale down to a compact bin.
Choose and set up your composting spot
Pick a location that has some shade during the hottest part of the day to prevent the pile from drying out too quickly. Place your bin or designate a ground area at least 3 feet from your home's foundation and any wooden structures. Good airflow around the bin helps.
Start with a base layer of browns
Add a 4- to 6-inch layer of coarse brown material at the bottom - dry leaves, small sticks, or torn cardboard work well. This base layer creates air pockets at the bottom of the pile and absorbs excess moisture from food scraps added later.
Add your kitchen scraps as a green layer
Layer vegetable peels, fruit scraps, coffee grounds, and tea bags on top of the browns. Chop or tear large pieces smaller - the more surface area exposed, the faster microorganisms can break material down. Aim for a green layer roughly 2 to 3 inches thick.
Cover with another layer of browns
After every addition of green material, top it with a similar or slightly larger volume of dry browns. This is the single most effective habit for preventing odors. Keep a bag or bin of dried leaves or shredded cardboard beside your compost bin for this purpose.
Check moisture and aerate every one to two weeks
Grab a handful of pile material and squeeze it. It should feel damp - roughly like a wrung-out sponge - but not dripping. If it's too dry, add a little water. If it's too wet, add more browns and turn the pile. Turning with a fork introduces oxygen, which speeds decomposition and prevents anaerobic odors.
Harvest and use finished compost
After two to six months (faster in warm weather, slower in winter), material at the bottom of the pile should look dark, crumbly, and smell like rich soil. This is finished compost. Scoop it out from the bottom or sides and apply it directly to garden beds, mix it into planting holes, or use it as a top dressing around established plants.
Once your compost is finished - dark, crumbly, and smelling like earthy forest soil - mix it into garden beds, use it as a top dressing around existing plants, or blend it into potting mix for containers. It's an excellent resource whether you're growing vegetables on a tight budget or tending container gardens in limited outdoor space.
For anyone starting a larger garden project from the ground up, composting fits naturally into the broader planning process described in our season-by-season garden planning roadmap.